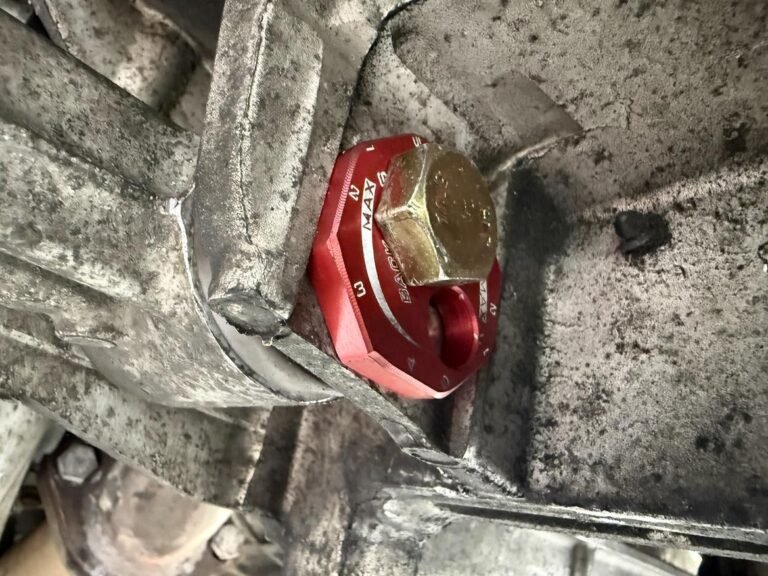
Turn One HP2 power-steering pump install
Last night I finished up the turn one hp2 pump install.
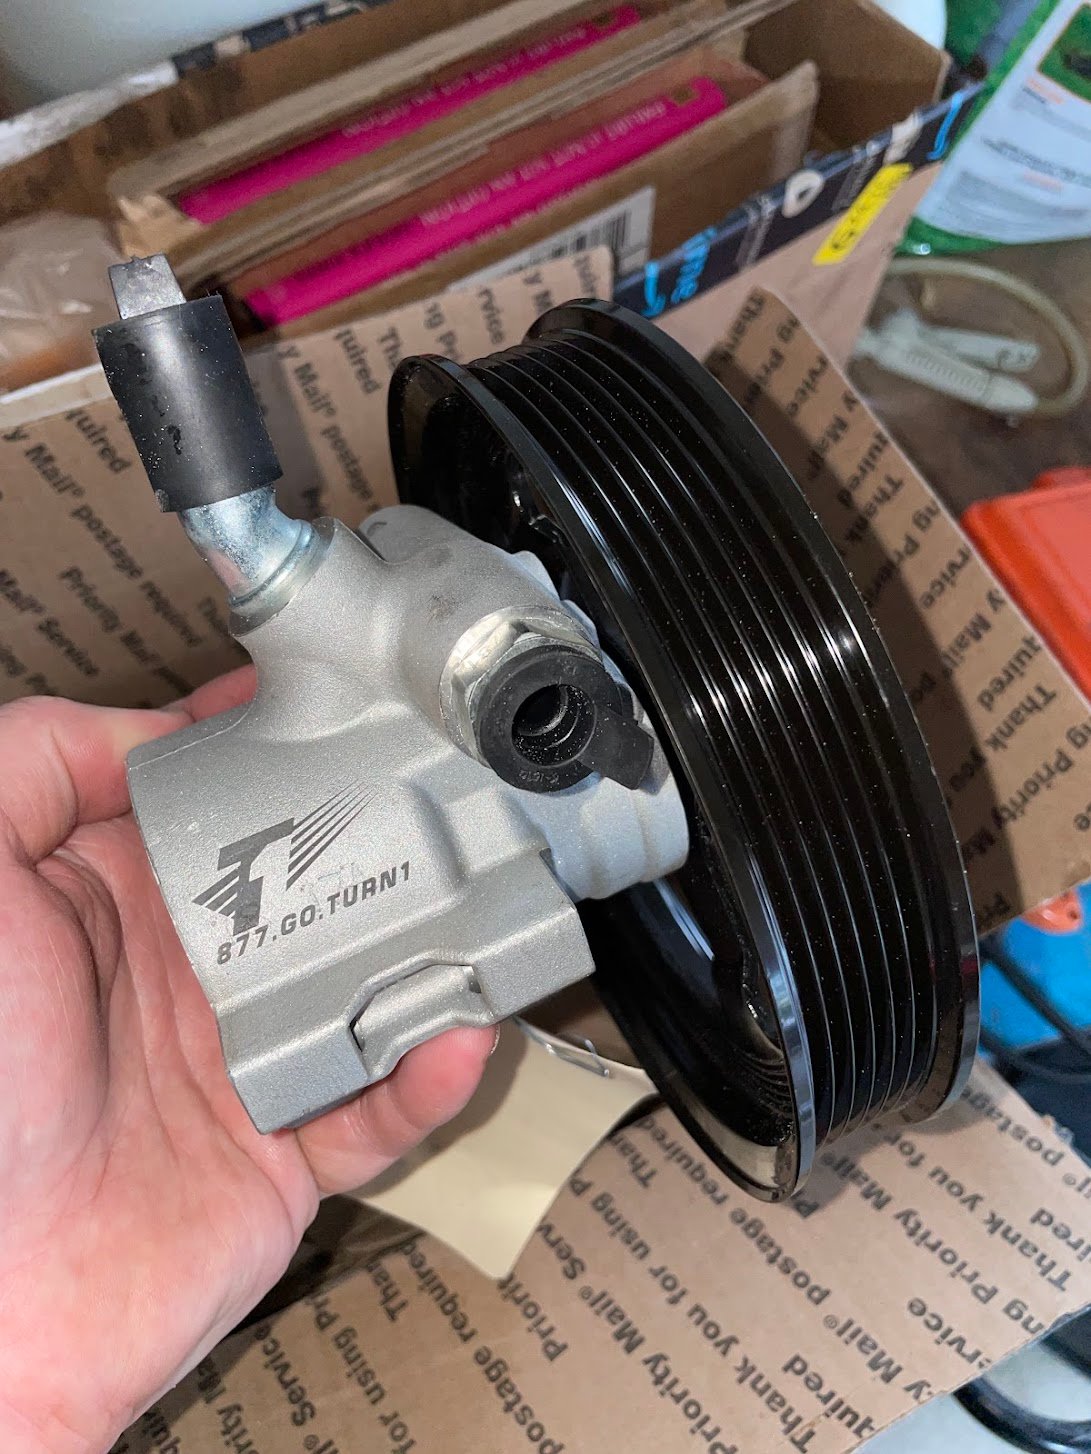
Removal isn’t too bad.
- Remove the accessory belt
- Remove the alternator (15mm and 13mm for the hot wire)
- Fully remove the belt
- Drain the PS fluid
- Take the lines off the PS reservoir
- Remove the PS reservoir upward off the bracket. It just snaps in.
- Use a pry bar to snap the factory PS pulley
- Unscrew the high pressure line from the pump (16mm)
- Remove the 4 bolts (13mm) from the pump and remove.
- Remove the 4 bolts holding the PS bracket to the engine (15mm)
You probably want to replace the high pressure steering line at this point. At a minimum have orings on hand. It’s 18mm to remove and you’ll never have better access. You might consider replacing the accessory pulley on the bracket. I used a c6 pulley. the turn one pulley works too, but is like 3-4x more
Reassembly is a lot more complex. The assembly with the pulley going back on is a lot larger.
- Remove the throttle body. The tb motor gets in the way. 3 10mm bolts
- Assemble the pump. You’ll need to press the pulley onto the new pump. It’s a special tool you can rent from autozone. make sure to transfer the hose.
- Make sure the high pressure line threads into the new pump. I’d tighten it down all the way a couple times to make sure the threads are clean and formed.
- put two bolts into the holes on the bracket. The bolt near the pulley is the short one. These two are captive.
- bolt the pump to the bracket with 4 bolts(13mm). The new pulley allows you to bolt through it
- slide the assembled bracket and pulley into place
- Thread the high pressure pump in and tighten(16mm). This is blind and a PITA.
- put a bolt loosely into one of the PS reservoir bracket holes to hold the weight of the assembly while you get the 2 captive bolts started.
- Tighten the two captive bolts (15mm) A stubby wrench really helps, but you only get 1/6 of a turn due to space.
- remove the bolt from 8.
- bolt the PS reservoir bracket back on with 2 15mm bolts
- reassemble the throttle body
- put the reservoir back in place. Make sure to use the hose clamps
- bolt the alternator back in place 2x 15mm 1x 13mm
- Put the belt back on.
- Fill with PS fluid.
- Turn the wheels back and forth a few times to cycle the fluid a bit.
- check PS fluid
- Turn over the car without spark. (clutch in and throttle 100% will do this) Trying to run the pump a bit without the full speed engine.
- check fluid
- Start the engine and turn the wheels back and forth.
- shut it down and check the fluid. Its probably stabilized now. I’d leave it with the wheels fully to one side. It allows any bubbles to stay trapped on the right side of the PS rack seals.
Good luck. This was a major PITA. FWIW it’s a good time to do rack work in general as you’ll have really good access to the lines that are super hard to reach when you need to take out the rack. Combo it with a harmonic balancer change.